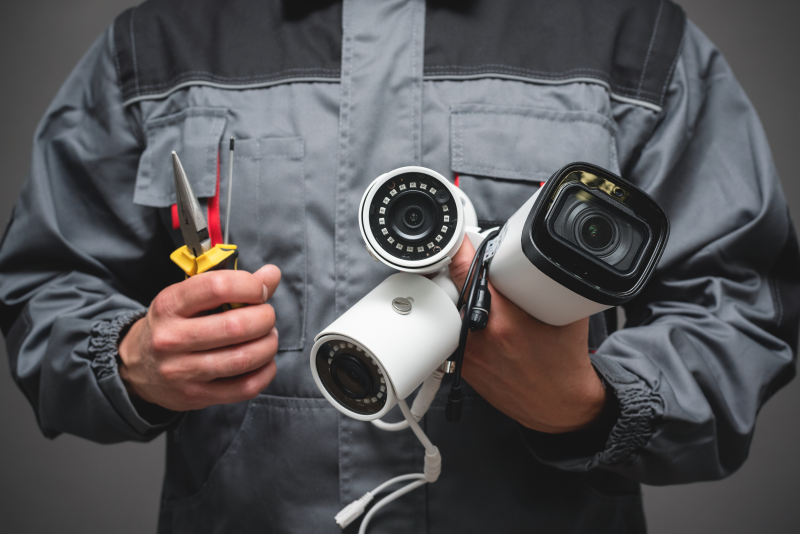
A home security camera system may be established quickly and inexpensively. With the right tools and a strategy, you can install yourself and save money. DIY installation allows you to position cameras where they are most effective. This checklist will walk you through the process of selecting the appropriate equipment and avoiding mistakes. You’ll be confident in your arrangement and safeguard your home in the end. Let us walk you through a successful security camera installation.
Step-by-Step Installation Process
Choosing the Right Security Camera for Your Needs
Start by deciding what to track. Indoor cameras are ideal for living rooms and entryways, but weatherproof outside cameras should include night vision. Wireless cameras are adaptable, while wired cameras are dependable. The normal resolution is 1080p, while 4K offers additional information. Test motion detection, cloud storage, and app compatibility. List key features and compare brands. Read user reviews for real-world feedback. Choosing the right camera ensures that your security camera installation meets your requirements and provides reliable footage in important areas.
Essential Tools for DIY Installation
Before you begin, get a power drill, screwdriver set, fish tape, cable clips, and a ladder. Anchors and screws may be required for mounting. Bring Ethernet cables and a crimping tool for wired systems. Smartphones and laptop computers provide live testing and adjustments. Prior to installation, label the equipment and test the connections. Starting with the right tools lowers delays and helps you stay organized. Prepared DIY security camera installations are faster and eliminate the need to run about looking for forgotten equipment.
How to Plan the Best Camera Placement
Walk around your house, noting high-traffic and susceptible places such as front doors, garages, and backyards. Avoid aiming your camera straight at the sun or reflecting surfaces. Install them 8-10 feet above ground to maximize coverage and avoid tampering. To avoid blind areas, ensure that the views of each camera overlap somewhat with those of the others. Consider where power sources are situated and organize your wiring accordingly. Use temporary mounts or tape to test angles before committing to a final location. Smart planning ahead leads to a successful security camera installation that catches crucial regions without gaps.
Common Installation Mistakes and How to Avoid Them
Improper Camera Positioning
Placing cameras too high or too low might reduce their efficacy. Cameras set too high may miss face features, while those placed too low may be tampered with. Avoid obscured vistas created by plants or decorations. Before completing mounts, test them at various angles using the camera app. Make sure to account for lighting circumstances since bad lighting will degrade film. A good security camera installation takes time to find the right balance between coverage and detail. Take your time adjusting angles before drilling any holes or running cables.
Forgetting to Test Your System
Many DIYers ignore testing, figuring that installation is sufficient. Before installing, connect each camera to its system and test the video quality, motion detection, and network connectivity. Use a mobile app or program to verify live feeds and change settings such as resolution and notifications. Evaluate both day and night performance. This phase guarantees that your security camera installation works properly before completing the location. Troubleshooting is considerably easier on the ground than after a camera has been mounted. Testing allows you to identify problems early on, saving time and frustration later.
Not Securing Wiring Properly
Loose or exposed wiring might draw unwelcome attention and cause harm. Use cable clips or conduits to run wires around walls in a tidy and safe manner. Weatherproof your outdoor settings using silicone sealant or rubber grommets. Avoid running cables through high-traffic areas or places where dogs may be present. Label both ends of each wire to facilitate troubleshooting. Neatly fastened wires increase the reliability of your security camera installation and limit the likelihood of disconnection or damage. Good cable management looks professional and protects your investment.
How to Ensure Maximum Security After Installation?
Regular Maintenance and Software Updates
Perform regular maintenance to ensure that your system runs smoothly. To avoid fuzzy footage, clean the camera lenses periodically. Inspect mounting and wires for wear. Log into your system on a weekly basis to ensure that footage is being recorded and stored accurately. When asked, upgrade your firmware and applications; these updates often address bugs and patch security flaws. Neglecting to update your security camera system might leave it open to hackers. Most brands include automatic update options; activate them wherever possible. Staying proactive ensures that your camera system continues to function properly and securely.
Protecting Your Footage from Hackers
Create strong, unique passwords for your Wi-Fi and camera applications. Avoid using the default login credentials. Enable two-factor authentication wherever possible. Use WPA3 encryption to secure your network and verify linked devices on a regular basis. Only allow critical users to have access to the camera. If you don’t require remote access, disable it. Keep your system’s software up to date to prevent vulnerabilities. Protecting your security camera system from digital attacks is equally critical as physical setup. These simple but critical cybersecurity measures keep your footage private and your system protected from tampering.
Enhancing Your Security with Additional Features
Add smart features to your system to make it more effective. Integrate cameras with motion-activated lighting or smart locks to increase deterrents. Backup film on cloud storage in case a burglar destroys local devices. Some devices support face recognition or license plate capture—which is ideal for high-risk regions. Set up smartphone alerts to receive fast notifications of any suspicious behavior. These enhancements change your security camera system from a passive monitor to an active deterrent. As threats grow, improving your system with smart technologies allows you to remain ahead and protect your house.
Conclusion
Installing your own security camera system may be difficult, but with proper preparation and resources, it becomes easy and gratifying. Begin by selecting appropriate cameras and designing clever locations. Prevent typical errors by testing and securing all equipment. After installation, be vigilant by maintaining software, securing your network, and upgrading features as needed. A well-installed security camera system safeguards your house, provides peace of mind, and deters possible attackers. Use this checklist as a reference, and be proud of protecting your area on your own terms. Safety is only a few steps away with DIY confidence.
Stay in touch to get more updates & alerts on Baddieshub! Thank you


