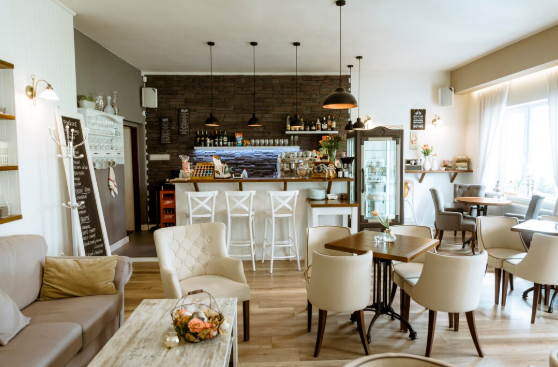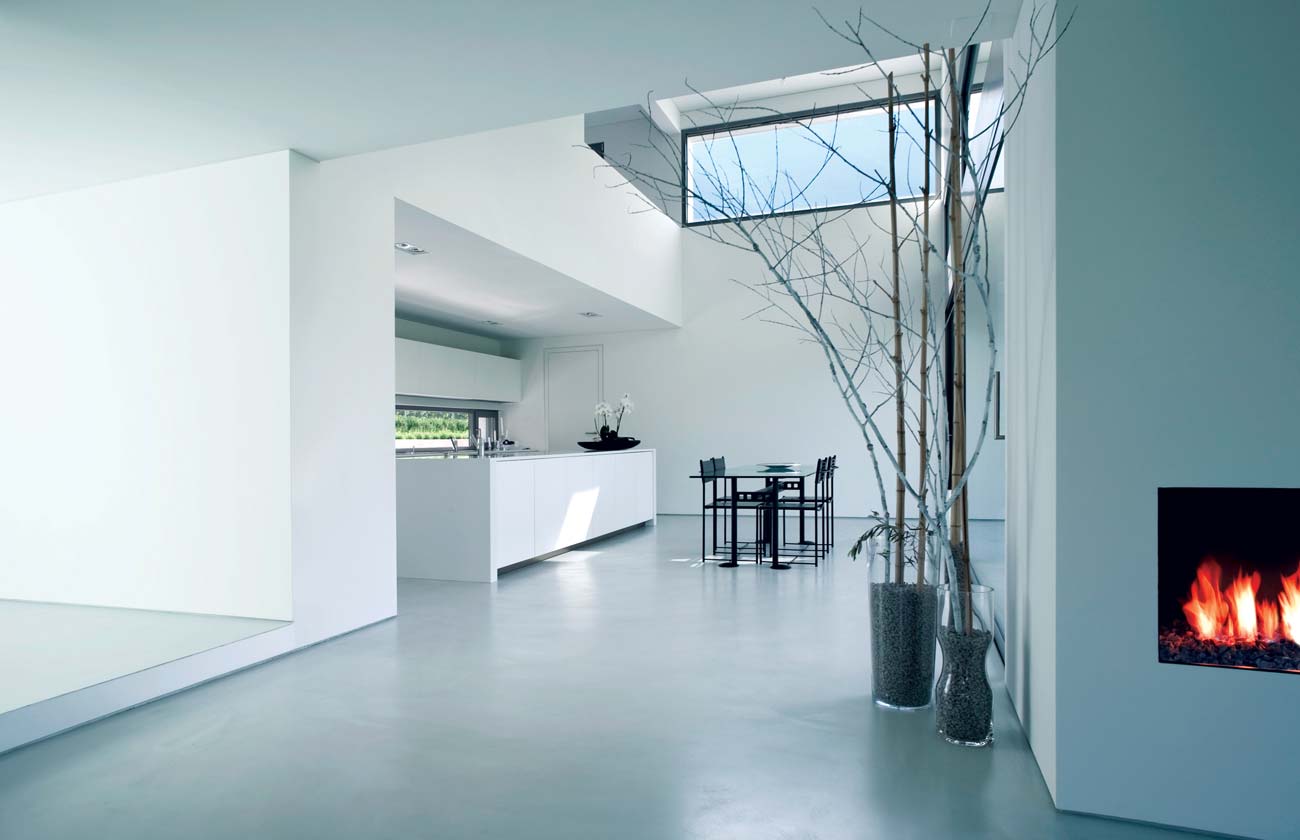
When you walk into a freshly renovated home or office, one of the first things you notice is the walls and ceilings. A seamless surface gives the impression of quality and care, while cracks, uneven joints, or visible seams instantly bring the look down. This is where gib stopping plays a vital role.
Whether you’re building a new property or upgrading an existing one, gib stopping ensures your plasterboard surfaces are perfectly prepared for painting, wallpapering, or decorative finishes. Done properly, it delivers durability, moisture protection, and a polished look that adds long-term value.
What is Gib Stopping?
In New Zealand, “gib” is the common term for plasterboard. Gib stopping is the process of sealing and smoothing the joints where plasterboard sheets meet, using a specialised stopping compound. Reinforcing tape is applied over the seams, and several coats of compound are added, then sanded back to create an even finish.
The purpose of gib stopping is simple but essential: to transform raw plasterboard into a flawless surface, free of visible lines or imperfections, that’s ready for painting or wallpapering. Without it, even the highest-quality paint won’t look professional.
Why is Gib Stopping So Important?
1. A Flawless Aesthetic
The main reason homeowners and builders prioritise gib stopping is appearance. Perfectly stopped walls look smooth and uniform, ensuring that once painted, they feel seamless. Skipping this step—or doing it poorly—leaves behind uneven joints and ridges that stand out in the light.
2. Structural Strength
Plasterboard may seem strong, but without sealed joints, it’s prone to cracking as the building naturally shifts or settles. Gib stopping strengthens the board at its weakest points, helping your walls and ceilings maintain integrity over time.
3. Protection Against Moisture and Mould
Sealed joints help keep moisture from seeping into the plasterboard. This is crucial in high-humidity areas like kitchens, bathrooms, and laundries. Proper gib stopping reduces the risk of mold growth and water damage, protecting both the structure and your health.
The Gib Stopping Process
A professional gib stopping job involves several detailed steps:
- Preparation – Sheets of plasterboard are fixed securely to the framing. Screws or nails are recessed slightly below the surface to allow for compound application.
- First Coat – A thin layer of stopping compound is spread along all joints and over recessed screws.
- Taping – Reinforcing tape (paper or fiberglass) is embedded into the compound to prevent future cracking.
- Second and Third Coats – Once dry, additional coats of compound are applied to feather the joint edges and blend seamlessly with the plasterboard.
- Sanding – After curing, the surface is sanded smooth, leaving no visible seams or ridges.
- Final Touches – The wall or ceiling is inspected, and any imperfections are corrected to prepare the surface for painting or wallpapering.
This process requires patience, precision, and experience—one reason why many homeowners prefer to hire professionals rather than attempt DIY.
Best Practices for High-Quality Gib Stopping
To achieve the smoothest results, a few professional techniques make all the difference:
- Apply multiple thin coats rather than one thick layer for faster drying and fewer imperfections.
- Let each coat dry completely before sanding or applying the next to avoid cracks later.
- Use high-quality tools and compounds, as cheaper materials often compromise the finish.
- Maintain proper ventilation in the room for consistent drying.
- Inspect surfaces under good lighting—flaws often show up under bright, angled light.
DIY vs. Professional Gib Stopping
Some DIY enthusiasts try their hand at gib stopping, especially for small patches or minor repairs. While this can work for touch-ups, achieving a truly seamless finish across an entire room takes skill and practice.
Professionals bring experience, efficiency, and the right tools to the job. They know how to feather edges, apply consistent coats, and sand evenly. More importantly, they deliver results that hold up over time. For new builds, large renovations, or spaces where appearance matters—such as living rooms and offices—hiring an expert is often the smarter choice.
Signs Your Gib Stopping Needs Repair
Even the best gib stopping may need attention after years of use. Common signs include:
- Cracks or gaps appearing along seams.
- Bubbling or peeling paint that reveals poorly sealed joints.
- Visible lines or uneven areas when light hits the surface.
Small cracks can often be repaired with a fresh layer of compound, but larger issues may require re-stopping the affected area. Addressing these problems promptly keeps your interior looking fresh and professional.
Conclusion
Gib stopping is more than just filling gaps—it’s the foundation of a professional-looking interior. By sealing joints, reinforcing plasterboard, and creating a flawless surface, it prepares your walls and ceilings for a high-quality finish that lasts.
Whether you’re building new, renovating, or repairing existing walls, investing in proper gib stopping saves you time and money in the long run. For small repairs, DIY may be an option, but for a seamless, durable, and polished result, working with a professional is the best way forward.
A smooth finish doesn’t just improve the look of your home or workplace—it enhances its value and durability for years to come.